This article is outdated and has been replaced by a newer version. Please see Adding images to Loyalistic.
This article is kept here for reference.
Adding images to content, such as landing pages, blog posts or emails happens thru getImageRight, our digital asset management system. You need to sign up on the first time you are adding an image. After that, a login is required on each session. But the advantages are well worth the login hassle. Every image you use, is stored for further use. You can easily crop and resize images, so no need for photoshopping. This all means that you can import the original high resolution image, and getImageRight resizes it for you. Then if you later need the image in another blog post, email or landing page, getImageRight has stored your original high resolution version so you can crop and resize it differently, if you want.
Signing up
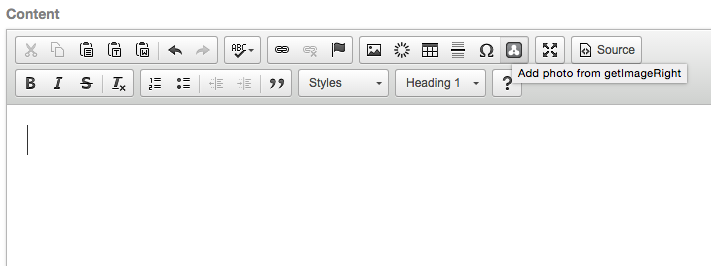
To start, click  icon on the editor. See below where to find the icon.
Unfortunately, the signup and login screens sometimes defaults to Finnish language version. The application itself is available in English. So here are instructions of how to progress through the sign up process if you get Finnish screens.
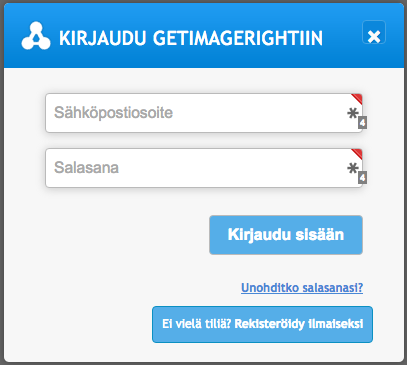
This is the login screen. Select the button on the bottom for signing up. Full translations below.
- KIRJAUDU GETIMAGERIGHTIIN: LOGIN TO GETIMAGERIGHT
- Sähköpostiosoite: Email address
- Salasana: Password
- Kirjaudu sisään: Login
- Unohtuiko salasanasi?: Forgot your password?
- Ei vielä tiliä? Rekisteröidy ilmaiseksi: No account? Signup for free.
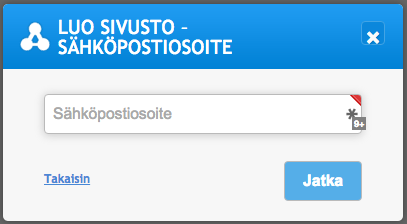
Fill your email address and click "Jatka" to continue.
- LUO SIVUSTO - SÄHKÖPOSTIOSOITE: Create site - email address
- Sähköpostiosoite: Email address
- Takaisin: Back
- Jatka: Continue
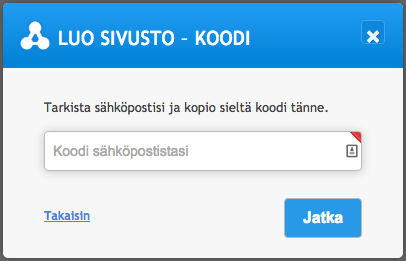
Check your email and copy code to complete site setup. Click "Jatka" to continue.
- LUO SIVUSTO - KOODI: Create site - Code
- Tarkista sähköpostisi ja kopio sieltä koodi tänne.: Check your email and copy code here.
- Koodi sähköpostistasi: Code from your email
- Takaisin: Back
- Jatka: Continue
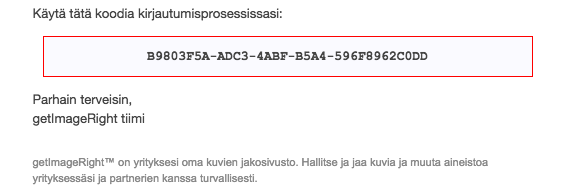
Copy the code from the email that was sent to you and paste it the form.
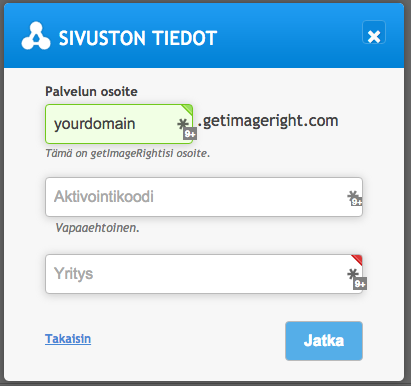
Now select the address for your site. It's typically yourdomain.getimageright.com where yourdomain is prefilled from your email address. If the site name is taken, someone from your organisation may have already signed up. In that case, you may signup for another instance with separate name, or ask the other person to invite you to her instance. See separate instructions of how to use getImageRight.
Leave Aktivointikoodi (Activation Code) empty. Fill out Yritys (Company) field, and click "Jatka" to Continue.
- Sivuston tiedot: Site information
- Palvelun osoite: Site address
- Tämä on getImageRightisi osoite: This is your getImageRight's address
- Aktivointikoodi: Activation code
- Vapaaehtoinen: Optional
- Yritys: Company
- Takaisin: Back
- Jatka: Continue
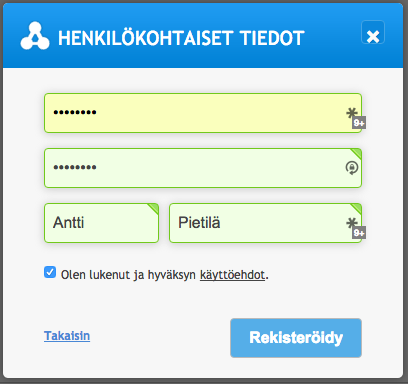
- Henkilökohtaiset tiedot: Personal information
- Salasana: Password
- Salasana uudestaan: Verify password
- Etunimi: First name
- Sukunimi: Last name
- Olen lukenut ja hyväksynyt käyttöehdot: I have read and approved terms and conditions.
- Takaisin: Back
- Rekisteröidy: Complete signup
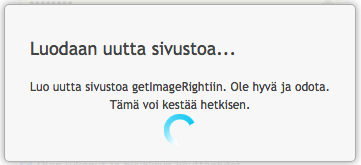
Your getImageRight is being set up. Please wait. It will last about 1 minute.
You have now completed the signup and are ready to use getImageRight.
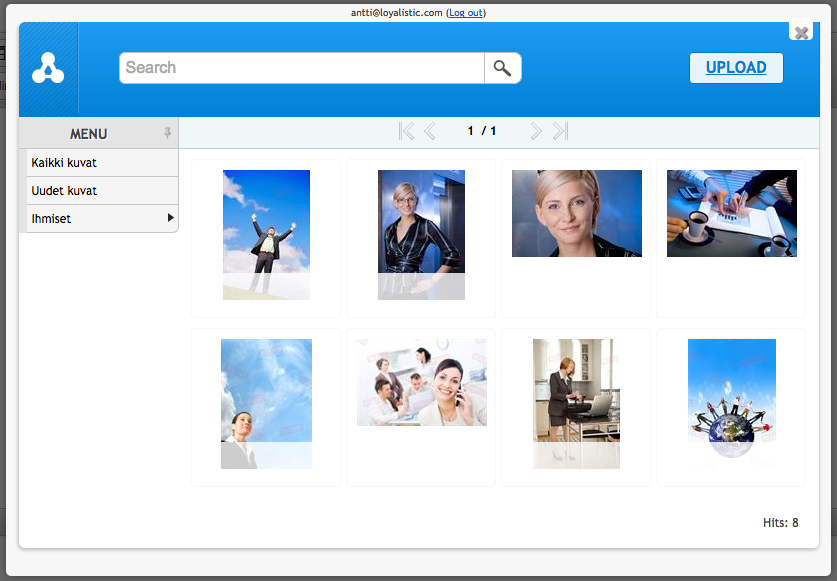
Use Upload-button to upload new images, or search and select one you have uploaded before. Your getImageRight contains the above watermarked images "out-of-box". You may delete them later.
The category menu on the left will update with the categories you are using for your images once you start uploading your images.
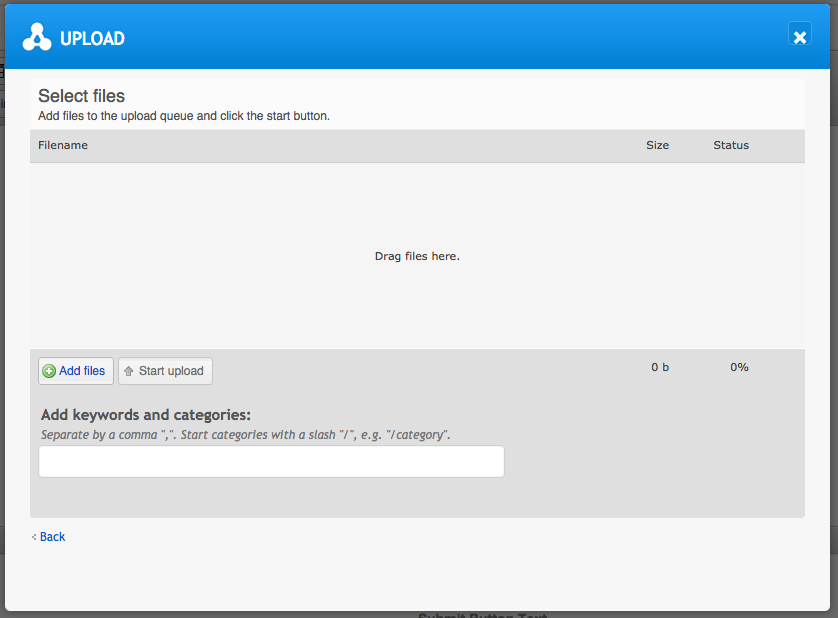
Use Add Files -button to add files to be uploaded or drag and drop files here. Click Start upload to upload them. In normal use, you'll upload one image at a time, but you may upload as many as you like. It's better to do that from the full getImageRight, that you'll find from the address you created, aka yourdomain.getimageright.com.
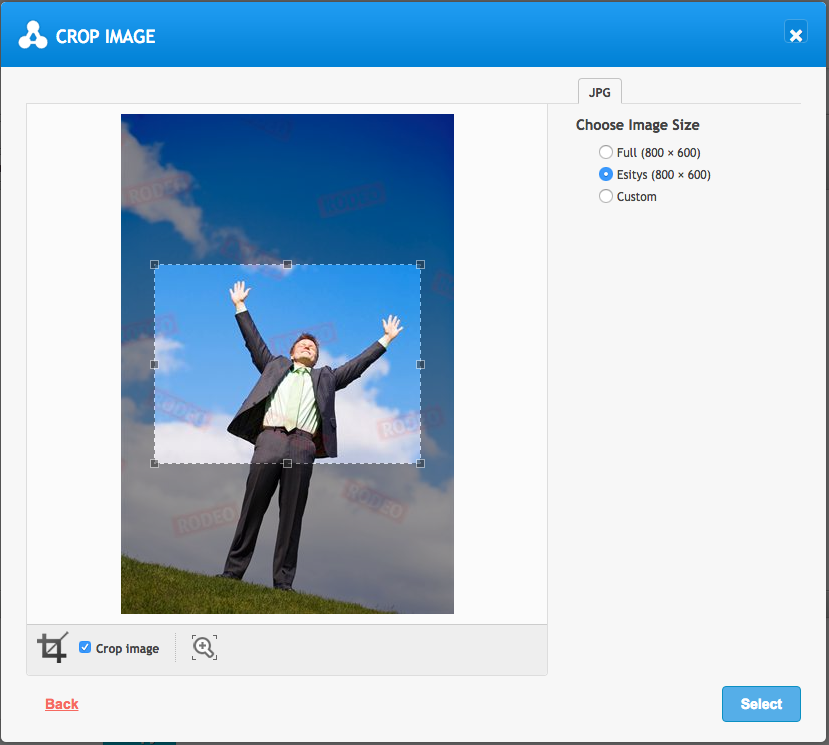
Once you have uploaded or selected an image, you may resize and crop it, if you like. Once done, click Select to complete the process.
If you want to add more preset sizes to resize options, you can do so from the full getImageRight at yourdomain.getimageright.com.
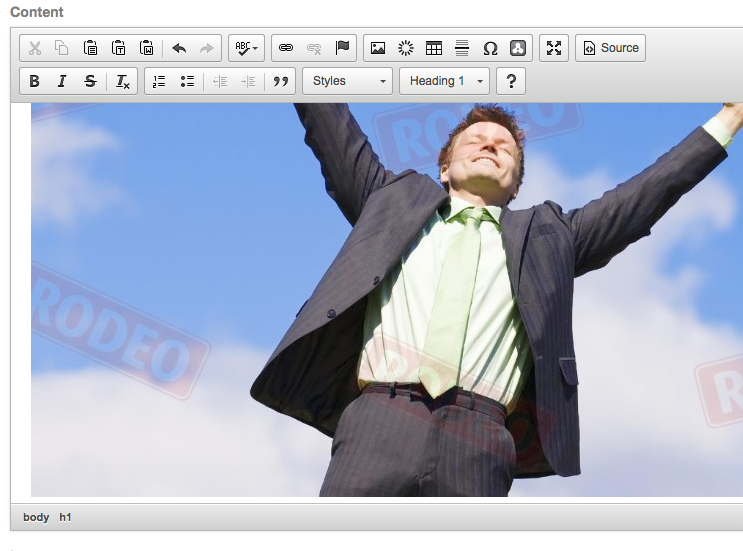
Voila. The image is there! Don't mind too much about the image size in the editor. Images are here shown 100%, but are scaled down to fit in the actual blog or landing page. Please note thought, that on emails, the images are not scaled down.
The next time is whole lot easier, as the signup is now done. Just log in, and you are ready to select or upload.